

In a digital age where we capture thousands of photos every year, it can feel overwhelming to decide what to print and how to organize those precious memories. Instead of keeping everything stored on my phone or a hard drive, I’ve developed a system that helps me stay on top of my family’s photos while ensuring they are beautifully printed and preserved. Follow along below to see my tips and tricks for how I organize and print my memories.
Step 1: Categorizing Photos
I separate all of my photos into two main categories:
- Professional Images – These are either taken by me or professional photographers and tend to be more styled and curated.
- iPhone Photos – Everyday snapshots that capture the candid moments of our life.
Step 2: Organizing iPhone Photos Monthly
Each month, I go through my iPhone photos and select my favorites. To make this process easier, I:
- Edit them using the Lightroom (LR) mobile app for a consistent look.
- Create a dedicated album on my iphone labeled with the month and year (e.g., “January 2025”).
Step 3: Printing iPhone Photos Quarterly
Every quarter, I use Chatbooks month book subscription to create printed albums of my iPhone photos. I opt for the hardcover version, as it’s an affordable yet high-quality option for documenting everyday life. This way, I don’t get behind on printing my favorite memories, and they are neatly stored in physical form instead of getting lost in my camera roll.
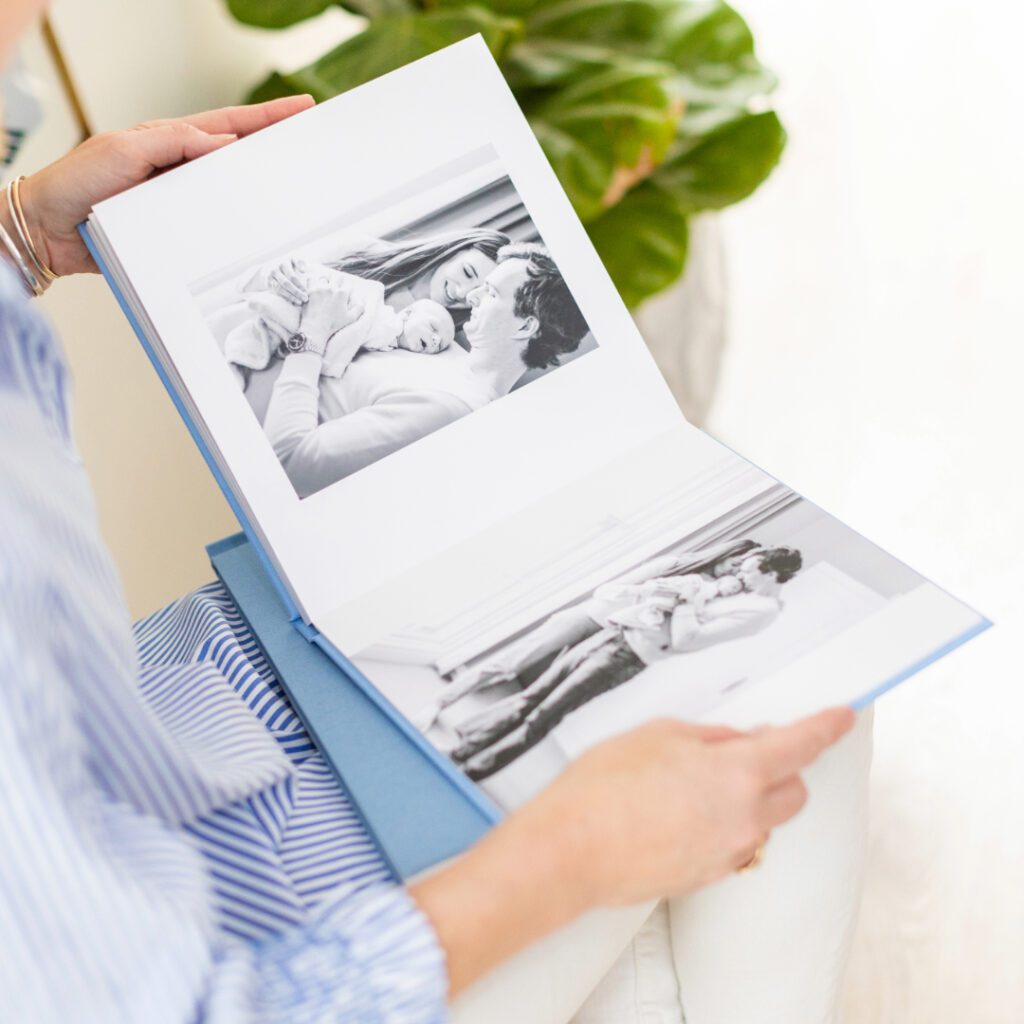
Step 4: Printing Professional Photos
For any professional photoshoots we do, I like to create dedicated albums using WHCC (White House Custom Colour). Other great alternatives for those doing it as a non-photographer include MPix, Milk Books, and Nations Photo Lab.
- I choose thick pages for a premium feel.
- The design is simple and timeless, often with a linen cover and our family name with the year in gold foil on the front.
- These albums serve as beautiful coffee table books and are displayed on our side tables for easy viewing.
Step 5: Creating a Yearly Family Album
At the end of every year, I compile everything into one large keepsake album using Blurb. I combine a few favorite iphone photos from each month, as well as a few images from each professional photo session, and then all the images I took with my “big camera”. Here’s what I do:
- I create a 13×11 large landscape album with Mohawk ProPhoto Pearl paper.
- The cover features a printed image on the front and back in a hardcover design.
- I aim for up to 240 pages (the largest album size I’ve found).
- Since these albums can be pricey, I wait for a 30-40% off sale before printing.
Why This System Works for Me: Organize and Print my Photos
This approach helps me stay organized and ensures that our memories don’t just sit in digital storage. By breaking it down into monthly, quarterly, and yearly steps, I avoid the overwhelming task of sorting through thousands of photos all at once. Plus, having tangible albums to flip through makes reliving our favorite moments even more special!
If you’re feeling overwhelmed by your photo collection, consider implementing a similar system—one step at a time. The key is to find a process that feels manageable and enjoyable so that preserving your family’s memories becomes a rewarding tradition rather than a stressful task.
If this feels too overwhelming, just start with printing your professional photos first since they are likely organized already. I am happy to help design and deliver a beautiful album or prints from your session.
looking for something?


Never miss an opportunity to book one of our highly sought-after mini or Heirloom studio sessions! Join the list and you'll be the first to hear when the next session date is released. Remember, these sessions are offered exclusively to our email list!
Mini & Heirloom Session Dates
Get on the List for

Stay in touch - mariaburtonphoto@gmail.com
@mariaburtonphoto